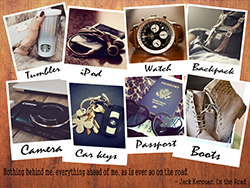
Today’s collages boggle the imagination with various forms and intricate designs; they are used as educational infographics and movie posters, photo compositions and advertising brochures. Times have changed and technology has evolved, which means you no longer need to crop pictures, letters and patterns, and then stick them on a poster board to create a truly original piece of art. This work is done by special apps, and the only problem is to find proper software to realize your creative ideas.
Photo Collage Maker is a perfect app for creating collages of all kinds – blended, border, irregular and many others. If you decide to give your photo creation a vintage touch, though, you should certainly try the Polaroid effect. With our easy-to-use Polaroid collage maker, all you need is just to choose a template and add your photos to enjoy the result. Check out this step-by-step guide and learn how to make a Polaroid collage in a few clicks!
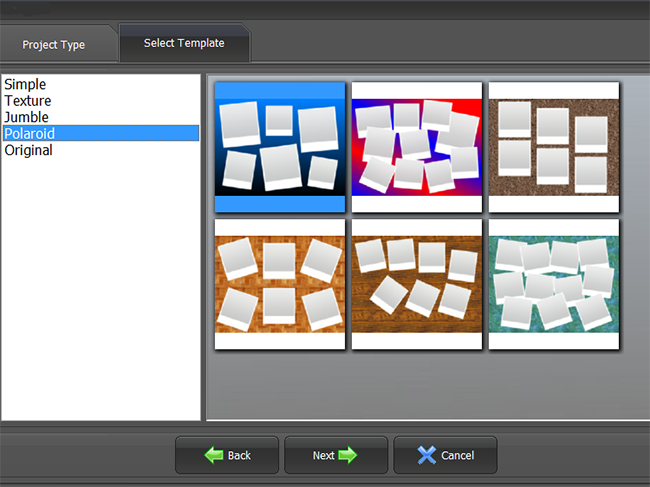
Step 1 – Pick Your Polaroid Layout
Once you've launched the program and hit the Create New Project button, you should move to Page Layouts. There you'll find a collection of ready-made templates comprising blank Polaroid-style boxes where you can insert your own images. The good news is that all layouts are fully customizable, in other words you can feel free to reposition or resize some objects, add new embellishments or delete the default ones.
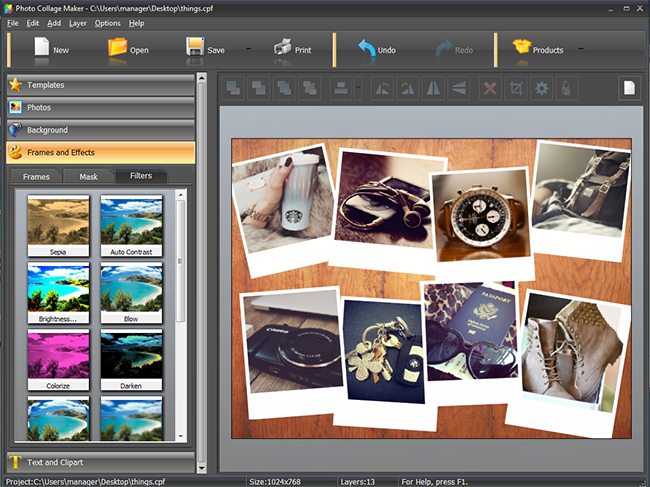
Step 2 – Insert Your Personal Photographs
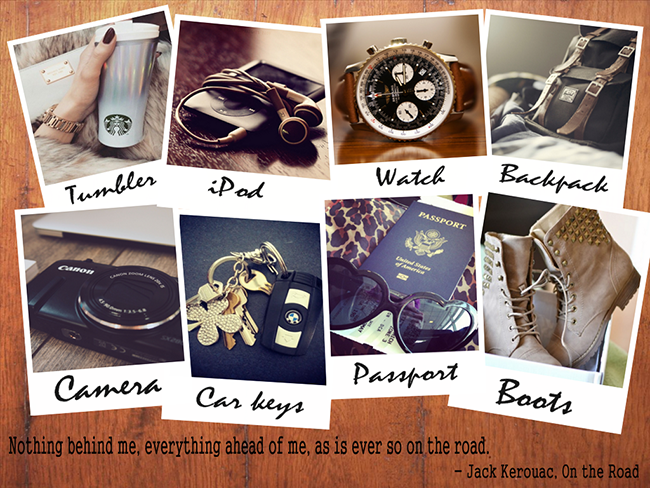
The second step in the tutorial on how to make a Polaroid collage will be to select your own photos and add them to the layout. Use the Crop tool to fit your pictures into the Polaroid frames. You can also arrange them on the canvas as if photos were randomly scattered on the desk. To create this effect you should think about a suitable background image, for example some wooden surface or a pinboard.
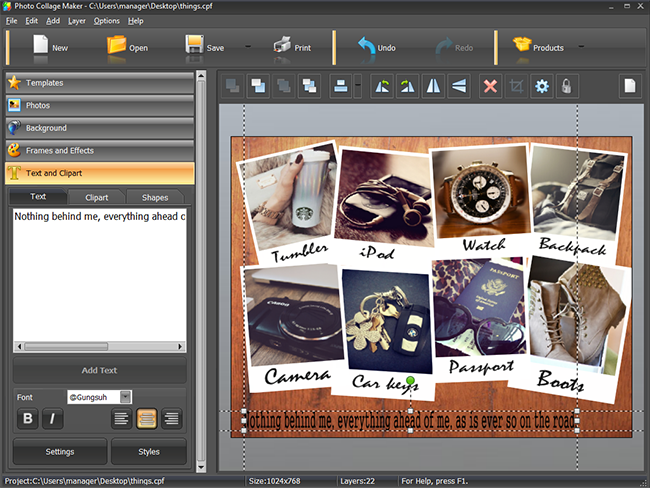
Step 3 – Add Text Captions or Inspirational Quotes
How to make a Polaroid collage with a personal touch? Having finished polishing the photos, you may put some descriptions onto Polaroid frames. Switch to the Text and Clipart tab and choose some italic font to imitate handwriting. You can also type in a quote of a famous person or an extract from your favorite book.
Step 4 – Save & Print Your Polaroid Collage
The last but not the least step is saving and printing your unique design. With the help of Photo Collage Maker, you can choose the image format to save it on your computer and then post in a social network or send it to your friend. Alternatively, you can directly click on the Print button and set the number of copies, their resolution and size to get a real collage to hang on the wall.
After you have learnt how to make a Polaroid collage, you can easily try your hand at creating collage posters, photo mosaics and whole scrapbooks. While the steps are more or less the same, Photo Collage Maker software gives you plenty of opportunities to experiment with the form and essence of your collages. Get started with the app today and spend some blissful hours making gorgeous designs!


