
Collages are a tremendous way to enjoy your most-loved photos and present a bigger picture of some memorable event. There was a time when every school girl scissored out tons of photos from fancy magazines and messed up with a tube of glue just to create such a collage and proudly stick it down to the wall of her bedroom. With today's computer software, it has become much easier and doable even for those who are all thumbs.
As collage making software, Photo Collage Maker offers a cheap and fun-filled way to transform your photos into a breathtaking collage poster. Stop wondering how to make a collage poster and try doing it! Create an instant gallery with a collage of your favorite photos, make a home décor statement with your unique poster or compose the best group pictures into a gift for your friend. There is no limit to your creative freedom and inspiration. If you need helpful advice, though, here are a few basic steps which will show you the right direction.
Step 1 – Decide on the Collage Style & Template
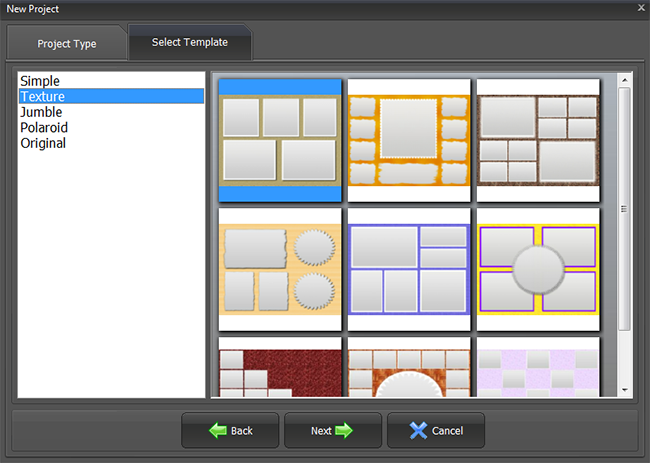
Begin with choosing the theme of your future collage as it will define your whole design. The program provides you with a wide range of styles – vintage, romantic, minimalistic, classy – and ready-made templates suitable for many occasions. Choose one of the predesigned layouts or start from scratch.
Step 2 – Choose the Best Photos & Background Images
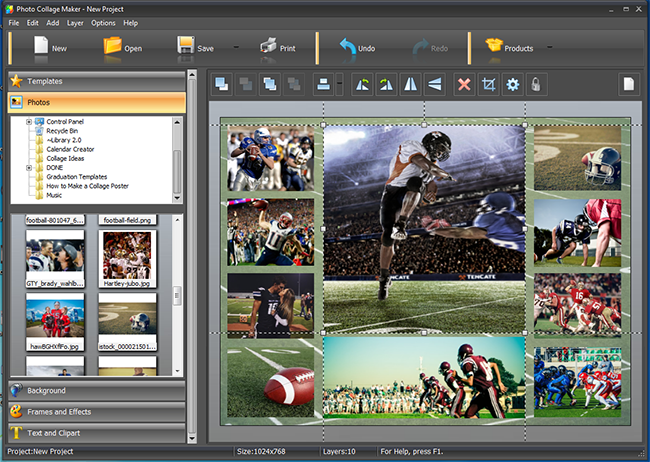
People who ask themselves “How to make a collage poster?” should probably know that even the most eloquent design is worth nothing without a personal story to fill it with. Look through your photo collection and select the photos which display the most significant events in your life, for example, the best games played by your college football team. Then add the photos to your collage page and adjust their size and position if necessary. Don’t forget about a background image to highlight your pictures.
Step 3 – Discover What You Can Do with Filters or Masks
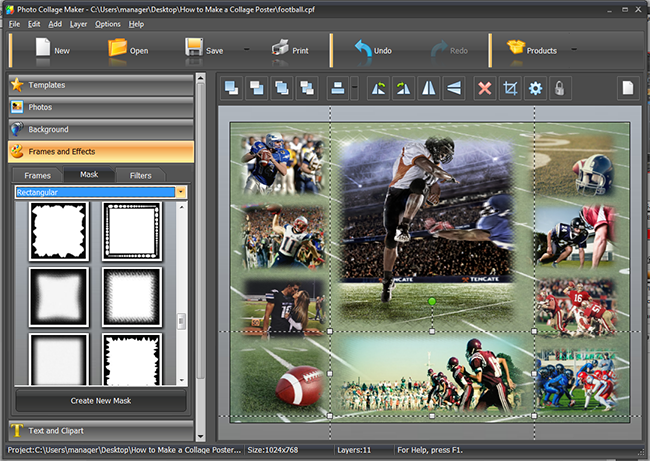
Switch to the Frames and Effects tab and take a look at the variety of marvelous masks, frames and filters laid out before you. Apply a rectangular or round mask to blend photos together or scatter them on the page. Play with filters to colorize the images or desaturate them. Just be sure to balance these decorative details as they should direct the viewers’ attention, not steal it.
Step 4 – Type in Inspirational Text Captions
What’s the main difference between a collage and a poster? Basically, it’s all about text captions. While a collage is a great way to assemble your photos on one piece of paper, a poster is a perfect tool to send a message, be it a birthday party invitation or a sport advertisement. Once you’ve chosen a catchy or inspirational quote, make good use of the text presets or customize them as you wish.
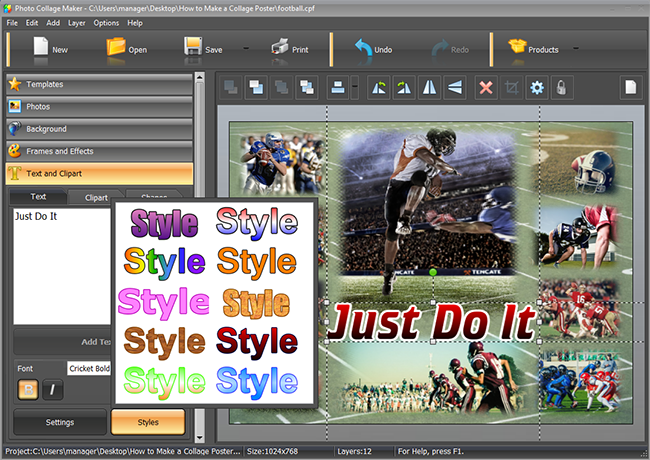
Select the font for your text caption, set spacing between its letters to tighten up words and then choose a solid, gradient or texture fill. What’s more, you can position your text as you like – vertically, horizontally or diagonally. The brush-up stage will imply applying the outline or shadow effects. Text design advice is one of the most useful tips on how to make a collage poster.
Step 5 – Save, Print & Present
At the final step, click on the Save Project As button and choose between such image types as JPEG, PNG, GIF, BMP etc. Otherwise, you can move straight to the Print window, adjust the paper size, set the number of copies and then get a real poster to hang on the wall.

A personalized collage will be a dramatic way to celebrate a memorable event and a great present for your dearest ones. If you have inspirational ideas and look forward to creating your own design, check out our video tutorial and learn how to make a collage poster in a few easy steps. Express your creative potential through a grasping collage poster!


