Almost every one of us has a bunch of folders on the computer with photos picturing the most precious moments of our life. When your friends visit you, you often show them photos on your PC, but the order and the amount of photos don’t produce the desired effect of astonishment and admiration. Have you thought of making a photo book instead? Just imagine – you are taking a book from a shelf and giving it to your guests! Furthermore, you can carry a digital photo book on your smartphone, send it by email or post on the Web. You could even create your own photo book series!
To work out the task, you’ll need to create a book page by page arranging the photos and the “plot” of your story – it should be consistent and coherent. The software you’ll be using should be built especially for this purpose, and it’s recommended to get the best photo collage software because the structure of each photo book page will actually represent a photo collage.
To learn how to make a photo book, just follow our steps.
Step 1 - Select the Page Design and Arrange Your Photos
There may be various reasons for your desire to create a personal photo book, and accordingly you’ll be offered a range of collage templates when you start the software. You can choose a pleasing style among Children, Wedding, New Year, Season, Travel and Vintage page designs.
Every template comes in several versions: there are page layouts for a single photo and for multiple photos – two, three, four, and more. Decide where each of your photos will go. You don't have to arrange the photos in a chronological order. Experiment with the sequence and choose the best looking combinations!
Step 2 – Edit the Images and the Background
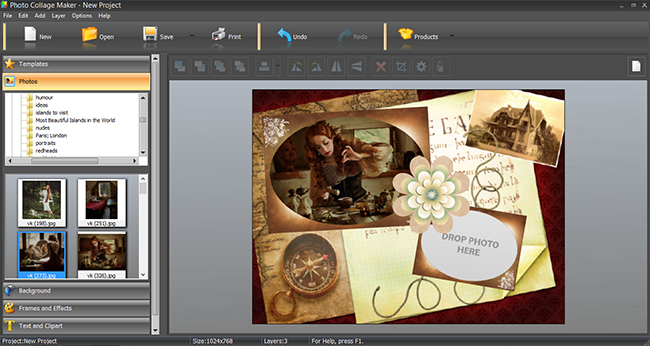
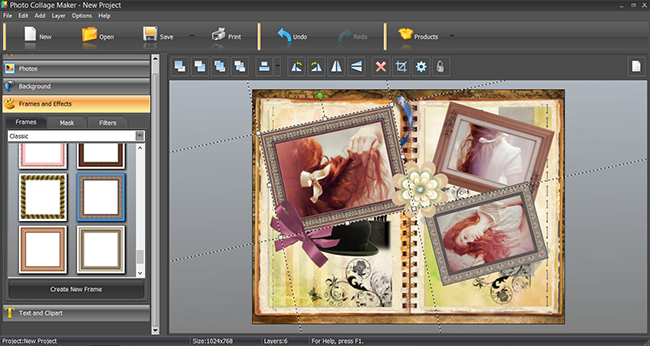
Now drag the photos from the folder and drop them into the frames on the canvas - the software will automatically crop your photos to fit the frames. Click on Undo and Redo icons to undo or redo any of your actions and to compare the page before and after. In the Background tab you can select any color, gradient, texture or image if you want to change the template background. But don’t forget - some blank space in the background allows a design to "breathe".
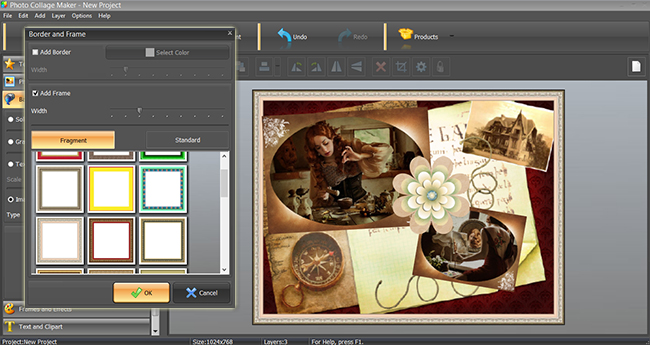
Step 3 – Frame and Decorate the Photos
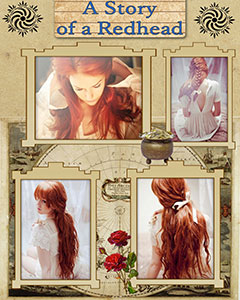
Now let's see how to make a photo book even more stylish! Proceed to the Frames and Effects tab to decorate your photos with Frames, Masks, or Filters. Frames are grouped by style and masks by shape. Classic frames look nice with almost all photo book themes. A mask can be added when picture edges should be a bit blurred or formed in a particular way - heart-shaped for instance. Try adding filters to your photos for artistic effect. For example, for a vintage photo book, you can try the sepia filter for "old photo" look or desaturate some images – make them black and white.
Step 4 – Make Each Page Tell its Tale
A photo book is still a book. So to add the final flourish, you should introduce some lines on its pages. They may contain dates, names, famous quotes, jokes or even poetry. Find embellishments for your pages in the Clipart gallery: select the appropriate clipart category and pick a picture that will enhance the visual effect produced by the photos. But be careful – clipart is most suitable for children or wedding photo books, but should generally be avoided with nature and black & white photos.

Step 5 - Design the Cover and Print Your Photo Book!
The book cover should be designed last and should express the main idea of your art piece. Usually covers follow the principle "the fewer elements, the better". It’s a good idea to put your best shot on the cover.
After completing every page, save it as an image (JPEG or TIFF are best). You can then put all the pages on a memory stick and take them to your local print shop. Or perhaps you have a photo quality printer at home - then you can print your photo book pages right from the program!
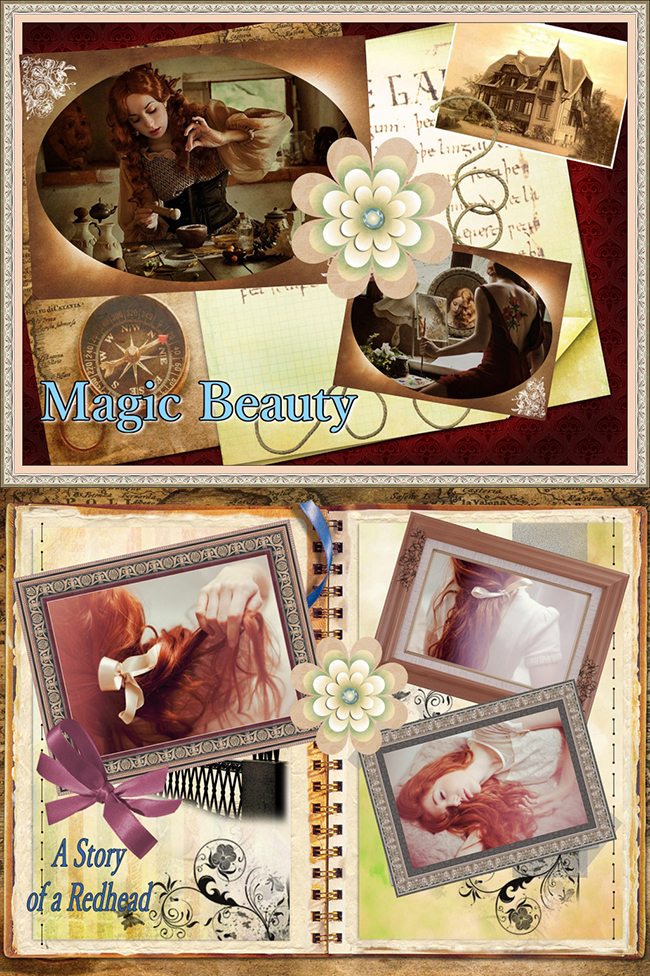
Photo books are a popular way to showcase and share images. You can create an album of photos from a special event, a photo story or even a professional portfolio. So now you know very well how to make a photo book, why not get the software here and contribute to the world of printed artworks?