
Invitations are the first impression your guests will get about the future event, so they are just as significant to any bride or groom as the wedding dress or the choice of the place for the reception. Want to know how to make a wedding invitation card yourself? Then, you have certainly come to the right place. Here, in 5 easy steps you will get acquainted with the quickest and effortless design process that will result in beautiful cards with minimum expense.
Using special invitation design software like Photo Collage Maker, you can make use of ready-made templates created by professional designers and digital artists. The software has an intuitive interface and thus is very convenient. You just need a few mouse clicks to personalize the chosen template or arrange the decoration elements on the page if you are making the card from scratch.
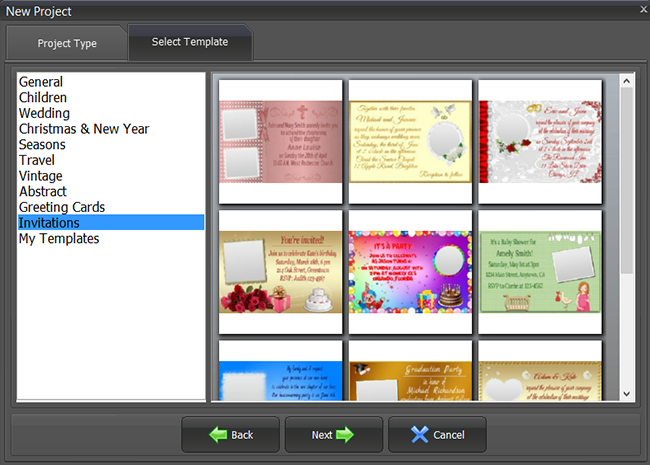
Step 1 – Choose the Desired Colors & Style
In case you know what wedding color scheme you want, this step invites you to think of the style of your design only: whether it should be classic, modern, elaborate or minimalistic. For those who have not yet decided what colors they prefer, there is one piece of advice: choose the templates with colors that you are sure to use in the decoration of the reception place interior. Also, try to limit your colors to 3 at most. This way the design won’t look heavy.
Step 2 – Use the Photos That Stand Out
With Photo Collage Maker, you can try applying numerous photos to your design until you find the right ones. Consider using a frame, a mask or a border with the images as it makes them look delicate. Photo of the couple or pictures including parents of both bride and groom, flowers and cakes are perfect for the case. Don’t use more than two images for the card, because it’s the text that should be in the focus of the invited. Create a design with two pages to place photos on each side.
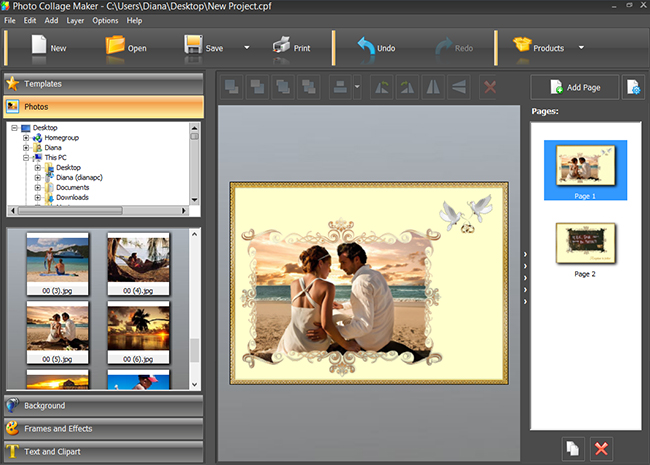
Step 3 – Experiment with the Design
Sometimes, it’s the choice of photos that determines the color scheme and the choice of embellishments. If your design needs editing after you have added images, just go to the Background tab and try replacing the original picture or color with a new one. You can also select your own image to fill the background. Using a texture is a perfect way to artify your card design. In the Clipart section of the Text and Clipart tab, you may choose a clipart piece to add the final touch.
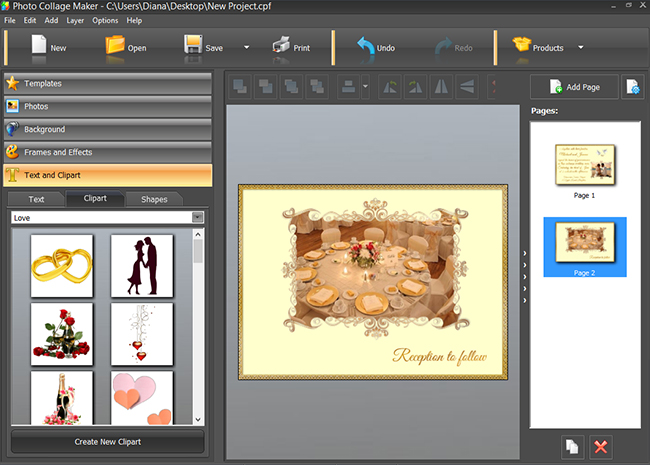
Step 4 – Add Your Invitation Text
First, you need to plan the wording you want to appear in your card. In the Text and Clipart tab, you can enter it and choose the font that suits your design. Use formal wording for the classic card or an informal one if your invitation may be called minimalistic or modern in decoration. Proofread the typed text before printing or e-mailing to avoid any spelling or grammatical mistakes. Don’t forget to save the project to be able to edit anything later in case of need.
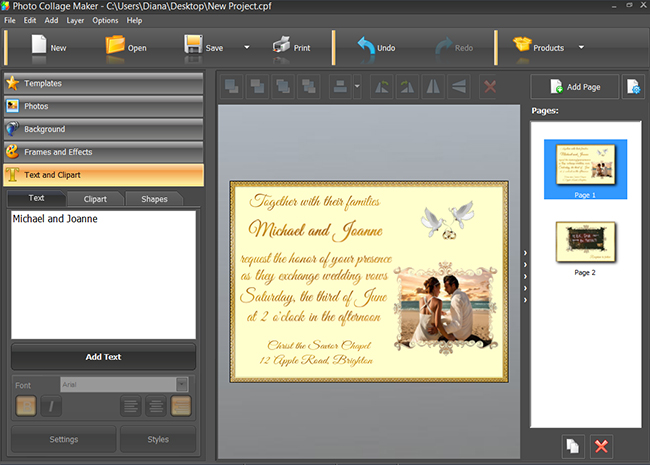
Step 5 – Print or E-mail the Invitations
Since now you know how to make a wedding invitation card, it’s time to enjoy the final result. Save the design as an image file if you plan to send it via e-mail and Facebook, or take it to the print office. You can also go to the Print wizard, choose the paper preset and page orientation to print the cards straight away. Mind that it is recommended to avoid glossy and thin paper as these types get damaged easily.

How to make a wedding invitation card? That’s the question you are able to answer now! Get ready to teach your friends, as when they get your invitations, an endless stream of admiration remarks and “askings” for help will surely take in your incoming calls after the conventional greetings. Discover the i-love-you collage ideas to prepare a romantic surprise for your future spouse.
Follow the guide above and send out your invitations designed perfectly and in your own style!


