A Valentine's Day card is, in fact, easy to make - this lesson proves that even a beginner can do it. Just a few gorgeous embellishments and a patterned scrapbooking background can turn any simple Valentine's Day card into a wonderful way to say "I love you." Create a sweet sentiment of love and affection with tiny hearts and a personal phrase. Your message will surely stand out if you make your own Valentine card for your beloved. Read on to discover how you can make one in just a few simple steps!
The best photo collage software such as AMS Collage Maker will offer you an option of adding hearts of different color and texture to your card. It also allows you to edit the font, color and effects of your message. Creating your own design with this software is as simple as ABC – just pick a design template and then experiment with the text and images you want to use.
Step 1 – Think of Colors
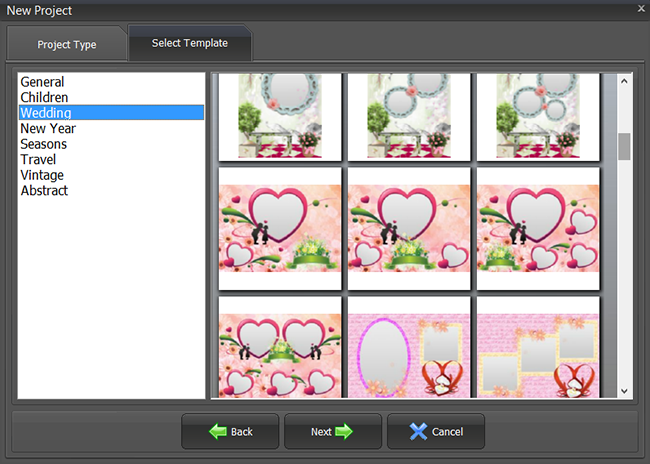
First of all, you should decide which photos you would like to use, and find a matching design template. The software has a gallery with pre-developed love and wedding templates, where colorful patterned backgrounds create a proper romantic mood for the holiday. Using red, pink, white or other saturated background, do not forget to place your focal point onto the photos. For this reason, you need to choose the main colors of your design in such a way that they complement the colors of the photos.

Step 2 – Arrange the Photos
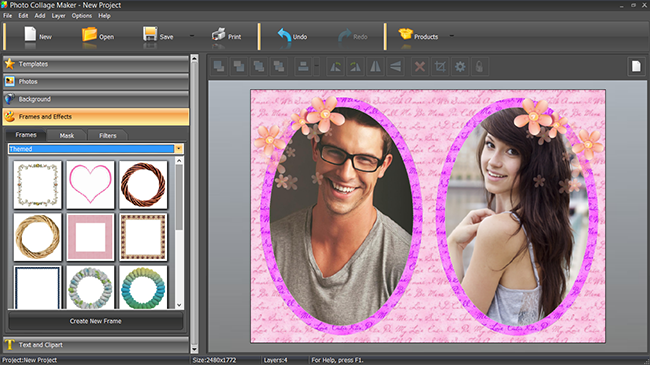
The photographs will create a sweet centerpiece for your Valentine's Day card. Put the photos on the canvas and crop, move and rotate them as you need. Make your own Valentine card thinking about the recipient. Usually, men prefer laconic or classic designs, whereas girls enjoy flowing lines and as many small charming elements as there can be placed on one card. Picture Frames will help you out here. Choose a classic or an abundantly embellished frame to give the card an old-fashioned, modern or romantic feel.

Step 3 – Edit Your Love Message
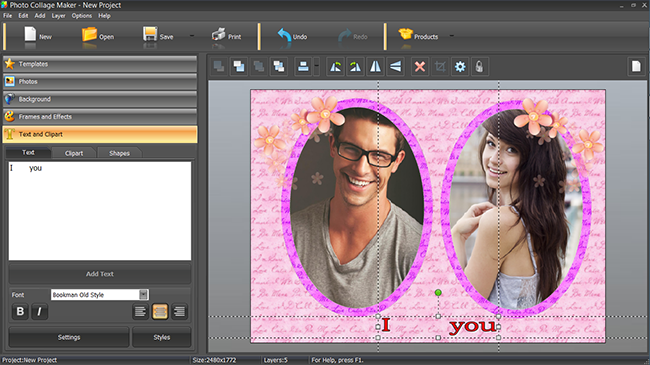
Now, take advantage of the Text options to make a sweet love message to complete your Valentine's Day card. You can use the traditional “I love you”, “Be my Valentine?” and “Happy Valentine’s day!” or less common but not less cute “Be mine”, “Sweetheart” or even “Kiss me”. Edit the text style and play with the size and color of your message. In Settings, adjust Add Outline and Drop Shadow options – this will make your caption look sharp against the background.

Step 4 – Add Some Hearts
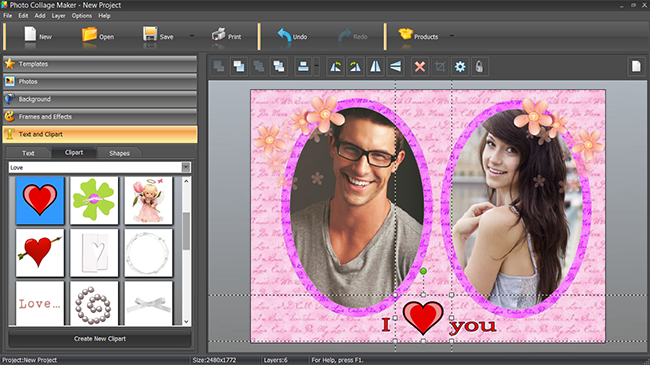
When you make your own Valentine card, you put your heart into it. As you know, the most popular symbols of love are hearts and roses, so go to the Clipart gallery and add one or several love-themed cliparts. A great idea is to dot the "i" of your greeting with a heart for a special touch. If you added some element but you do not like the result, you can always undo your action, or delete the unwanted element.

Step 5 – Print Your Card and Send it!
Finally, print your Valentine's Day card on cardstock for a retro look or on matte photo paper for smooth shine. Choose 300 dpi for the resolution. Valentine's Day cards are usually printed without margins. To send the image by e-mail, save your design as JPEG and choose the highest quality to make it look sharp. If you make your own Valentine card but have no idea how to give it to the one you like, just send it via Facebook!

The look of your Valentine's Day design will depend on the photos you choose, hearts and flowers, a sweet saying and other embellishments you use – as simple as that. In case you need a wedding photo album design one day, take cues from today’s lesson as well!
So, why buy a store card for your Valentine when you can make an adorable one yourself? Just start the software and do your best for the dearest person in your life!


